KNIPPSLICHT
Home
Hochzeitsreportagen – Engagement
Portfolio
Slow Motion Booth
Über Uns
Kontakt
Impressum
AGBs
Datenschutzerklärung
KNIPPSLICHT
KNIPPSLICHT
Home
Hochzeitsreportagen – Engagement
Portfolio
Slow Motion Booth
Über Uns
Kontakt
Impressum
AGBs
Datenschutzerklärung
Gallery Category:
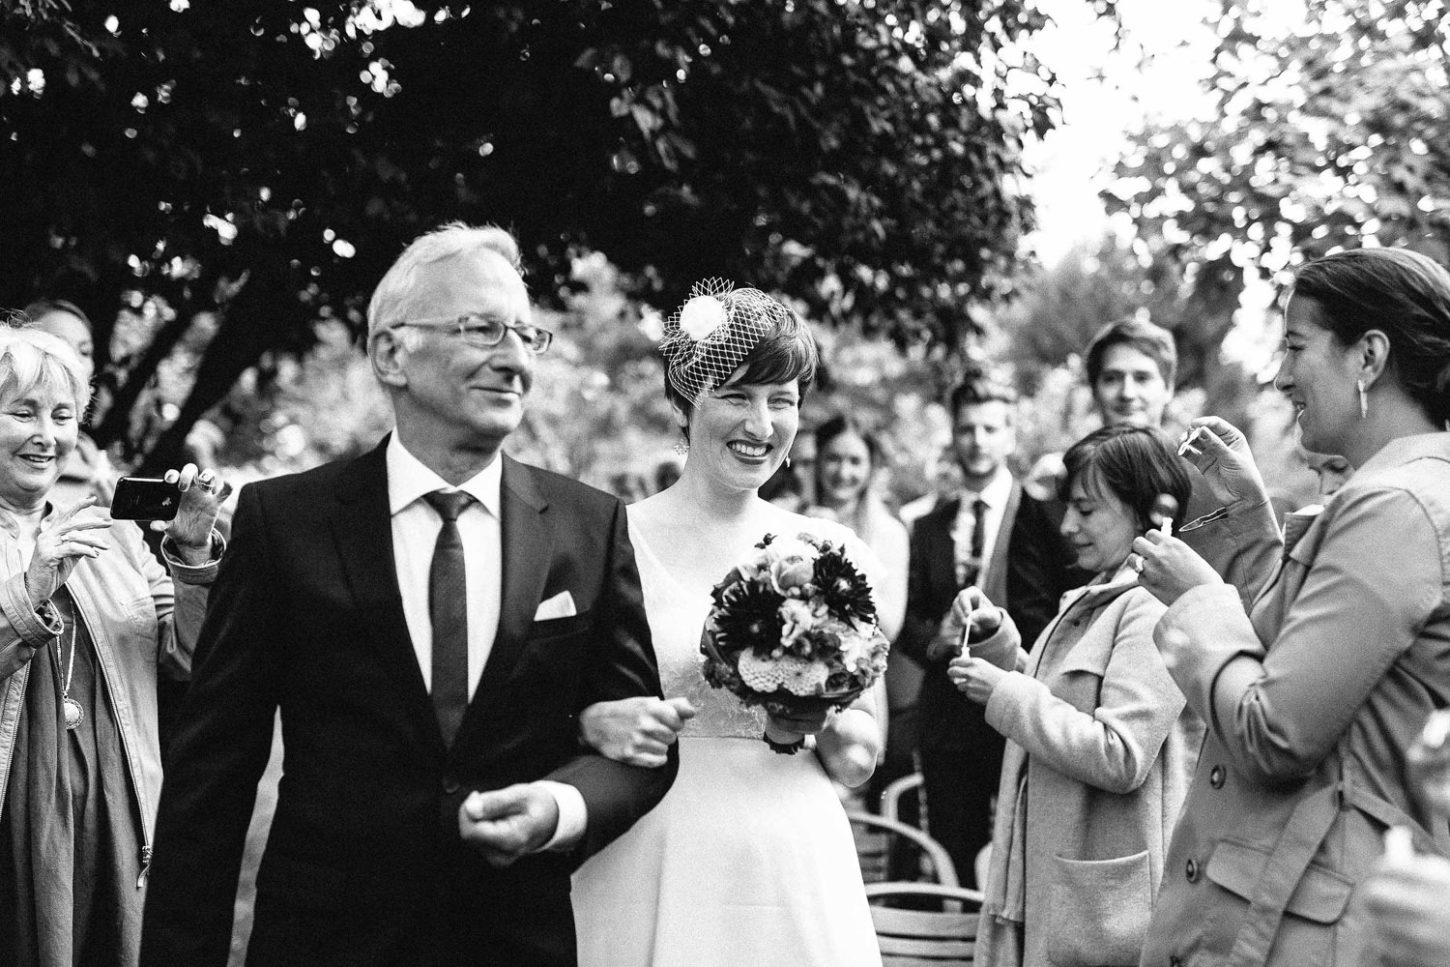
Sophia & John
Sophia & John
„Sophia & John“ – Weingut Moebus – Siefersheim
Open
KNIPPSLICHT
KNIPPSLICHT